Building a new home requires many jobs on site; concrete forming may be one of the largest. Be sure to understand permit requirements, leveling a sloped site and pouring concrete before proceeding with construction.
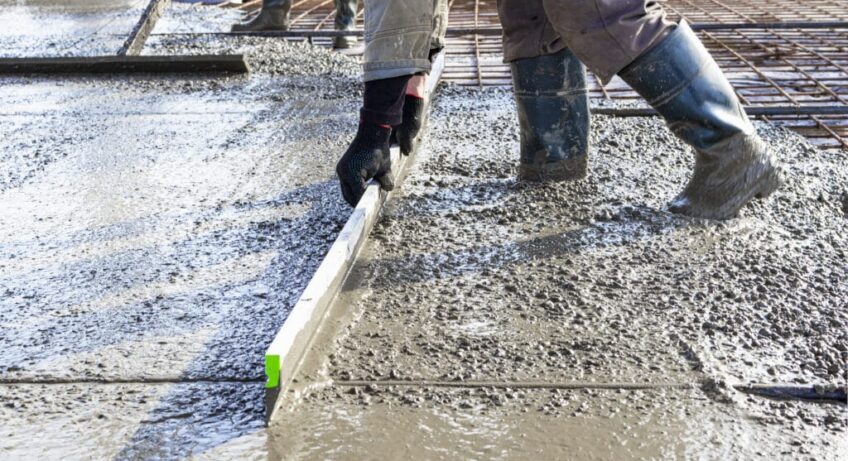
Once surface bleed water has dried up, use a magnesium float to achieve a smooth finish on the concrete house slabs Melbourne. Cut contraction (control) joints using a groover tool on the bull float handle.
Sub-Base
Your concrete slab’s integrity relies heavily on its subterranean soil support system. If it is improperly prepared, your slab could crack and sink over time.
Contractors will compact the earth beneath where the concrete will rest to ensure it can withstand its weight, remove large rocks, fill dents and remove large branches in order to ensure a solid slab that won’t crack or sink over time.
If you plan on creating a larger concrete slab, build a frame out of timber (an HSS light vibrating wacker plate from a rental company can come in handy here) that is square and level on all sides; ensure it stands three inches higher than your final slab to accommodate for form boards and any concrete overhang. Mark out its perimeter using stakes and string, making sure it slopes away from the house at approximately 1/8 inch per foot.
Formwork
Formwork plays a crucial role in producing concrete slabs of any shape and size, shaping their finished formwork shape into its finished state. Proper formwork placement ensures that the final concrete product possesses all of the strength required for its intended use; when pouring a garden shed base for instance, stretch a length of string across the area and remove a rectangle of soil or turf to a depth greater than your slab thickness (leave 30mm of concrete aboveground).
Hammer timber stakes firmly into the ground around your formwork to secure it firmly in place, ensure form boards are at their correct height, and if necessary reinforce them using braces or kickers driven diagonally into the soil and attached to form boards. Add control joints at 150 cm intervals along the long sides of your slab: one contraction joint on one end and an expansion joint at the other – as soon as concrete has set mist it with water in order to retain moisture in it as it sets.
Concrete
Pouring a concrete slab requires skill and experience. Care must be taken when measuring the site and choosing an appropriate form, using appropriate tools, and adhering to all safety procedures when working with concrete.
Dust masks should always be worn when mixing and using a power grinder to use dry concrete mixes, which may irritate breathing passages. Working together with someone when lifting and handling concrete can also be advantageous as 80-pound bags of mix are heavy to manage by yourself.
Once the concrete has been poured, use a bull float to smooth it. This tool helps smooth cream-colored (gravel-free) concrete rise to the surface for an elegant surface finish. If the surface doesn’t already feature grooves cut using a tool attached to a 2×4, cut grooves into it using such as tool. Doing this reduces chances of random cracking at similar locations in future years.
Finishing
An expertly floated and troweled concrete slab will look beautiful for years, providing great walking or driving traction while resisting cracking in the future.
Start by using your Darby or hand float to sweep across the concrete in overlapping arcs to flatten and push down lumps and fill voids, working quickly before the concrete dries out completely. When pressing your gloved thumb against its surface and seeing that it sinks no further than 1/4″, your concrete is ready for finishing.
As you work, water arises from within the concrete and sits on its surface (known as “bleed water”). For optimal results, allow this excess to evaporate before proceeding to subsequent stages of finishing; working concrete before this happens can cause weakening and increase cracking risks.
Once all bleed water has dissipated, use your bull float to smooth away screed marks and force larger aggregate down into the concrete. Use an edging tool to shape rounded corners on corners of the slab while adding control joints at predetermined marks along the perimeter.